
No matter what type of website you are running, an SEO plugin is one of the essential things that you will need for your website. Without an SEO plugin, you will not be able to setup metadata of your website. Nor you will be able to do on page seo of your blog posts and so on.
But just in case if you are wondering what are the benefits of the plugin and how to setup it, then read on. So let’s just head into the topic without wasting much of the time:
Benefits of Yoast SEO WordPress Plugin:

When it comes to SEO Plugins, Yoast SEO is the most common name that everyone talks about. And it is undoubtedly the best seo plugin that you can try out.
5 keywords per page:
With the Yoast SEO Premium, you will be able to add 5 focus keywords per page. Where with the Yoast SEO free plugin, you will only be able to add one focus keyword.
By having the ability to add 5 Focus keywords, you will be able to rank for multiple keywords. As well as you can use the LSI keywords to rank your blog posts.
Since LSI keywords are one of the essential parts of on page seo, so you need to optimize it in a better way. And in this case, Yoast SEO premium helps you in a great way.
No advertisement:
Random ads are pretty annoying, however, if you plan to get the Yoast SEO premium. Then you will be able to work in an advertisement free environment. But with the free version of the app, you will get to see different Ads.
Avoids content duplicity:
Yoast SEO Premium also offers you access to quite a lot of new and enhanced benefits. One of them is the content duplicity. Yoast SEO premium helps search engines to understand your content in a better way. As well as it prevents search engines like Google from finding copied content by setting up the canonical URLs.
Level Up On Page SEO:
On Page SEO is the first part of any SEO strategy and with the Yoast SEO, you will be able to do it with ease. It will help you to check readability for your blog posts. Hence, as a result, your articles will not just be search engine friendly as well as readers friendly.
Even using the plugin, you will be able to check your keyword destiny. Help you to place the keywords in the proper way.
So those were a couple of Benefits of Yoast SEO. Now let’s move to our second part where we will be discussing, how you can setup Yoast seo on your WordPress website. So here we go:
How to setup Yoast SEO on a WordPress Website:
Step 1: At first you have to log in to your WordPress dashboard.
Step 2: Now go to the Plugins and then click on Add New.
Step 3: Over here you have to search for the Yoast SEO Plugin.
Step 4: Activate and install the plugin if you have not already.
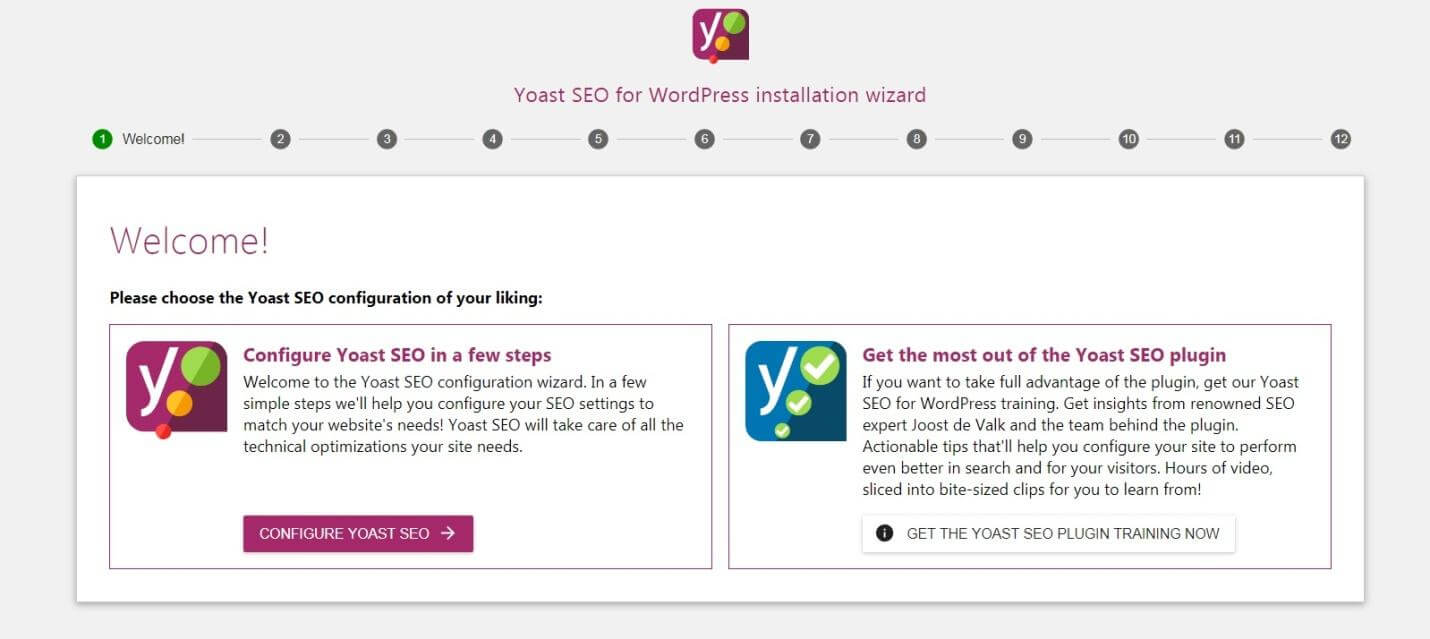
Step 5: Once installed, simply click on the Get started button. If you have already installed the plugin, then you need to go to the configuration wizard located at the top navigation bar.
Step 6: Then you have to click on the Configure Yoast SEO plugin.
Step 7: At the next step you have to select blog Environment, between these two options:
- Option A: My site is live and ready to be indexed
- Option B: My site is under construction and should not be indexed
Once you are done selecting click on the Next button.
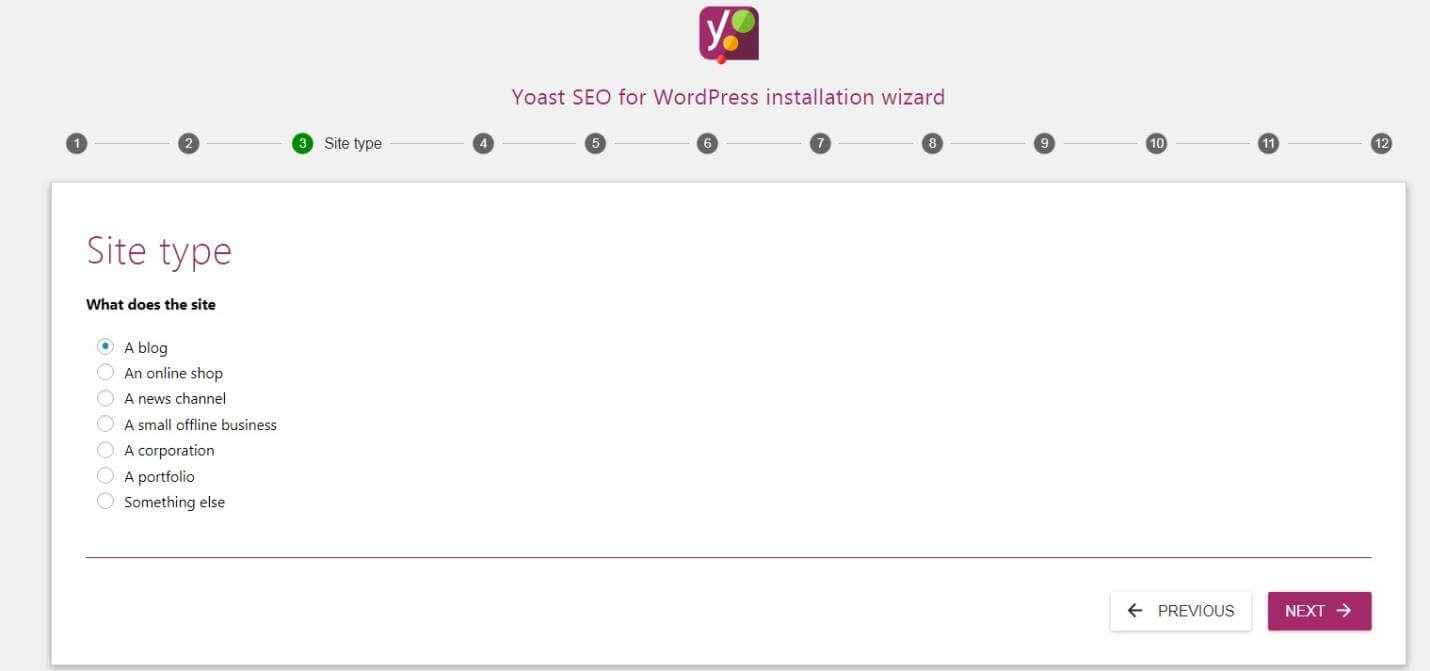
Step 8: On the next page you have to select your website type. For example, we have selected the Blog option.
Step 9: Then at the next step you have to select between Company or person. If you choose a company, then you have to enter the name of your company along with a Logo. If you choose a person, then do enter your website name over here and click on the next button.
Step 10: After that, you have to enter your blog’s social links one by one. If you don’t have any social profile yet, then you can skip it for now and later add them.
Step 11: On this step, you have to select Search Engine Visibility. Over here you will find two options one is the
Search engines should show “Posts” in search results, and the other one is Search engines should show “Pages” in search results. Select yes for both. However, just in case if you do not want pages to appear on search engines then select NO.

Step 12: If you have multiple authors on your blog, then simply select yes or else go for no.
Step 13: After that, you need to configure your Google Search Console. Just add your website on Google Webmaster and link it with the Yoast SEO Plugin.
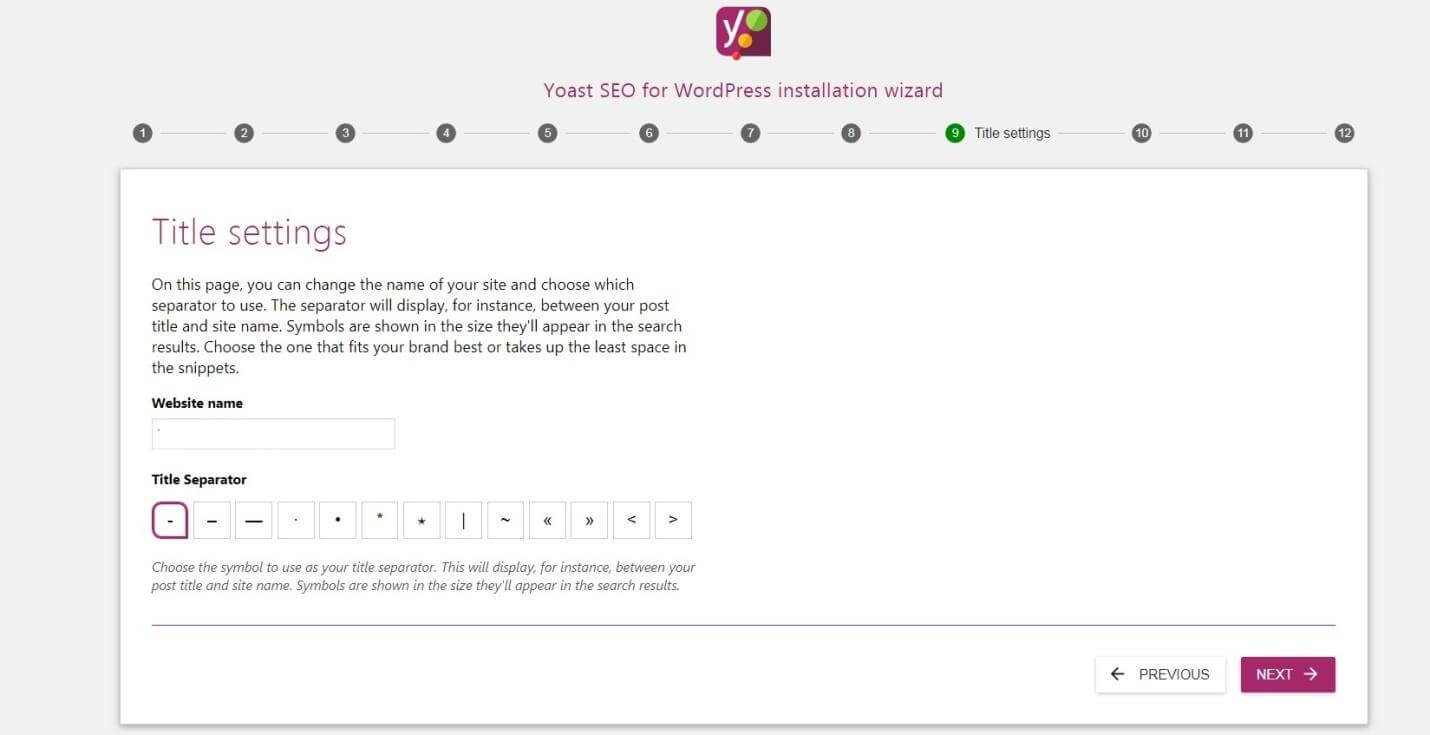
Step 14: Then you need to do Title Settings. For this, you can simply follow these screenshot below:
Step 15: After that click on the next button twice and in the end hit the close button and you are done with the complete setup.
However just in case if you ever feel like changing the settings. Then simply go to configuration wizard from the Yoast SEO menu and follow the same steps.
Final Words about Yoast SEO :
So that was all for your question that says, How to set up Yoast SEO on a WordPress Website. Also, let us mention that if you are looking for an access to the sitemap. Then you have to add /sitemap_index.xml at the end of your website. This means, your URL should look like this: www.yourwebsite.com/sitemap_index.xml.
Furthermore, you can also configure your website’s search appearance and other content type settings. Simply go to the settings of your Yoast SEO plugin and check out different settings. Anyway, if you have any more questions to ask. Then do feel free to leave a comment below.